Ceramic product photography is one of the most impactful yet underinvested areas in the B2B tableware trade. When buyers browse online catalogs, trade platforms, or supplier websites, the first impression of your ceramic products is shaped entirely by images — long before they read a single spec sheet or request a quote. In today’s digital-first sourcing environment, professional ceramic product photography is no longer a luxury; it’s a competitive necessity.
This comprehensive guide walks you through everything you need to know about ceramic product photography for e-commerce and B2B listings — from lighting setups and styling techniques to post-processing workflows and platform-specific optimization. Whether you’re a ceramic manufacturer building your online showroom, a wholesaler creating product catalogs, or a brand launching on Amazon and Alibaba, these strategies will help you present your ceramics in the best possible light.
Why Ceramic Product Photography Matters for B2B Buyers
In B2B ceramic sourcing, buyers rarely visit factories before placing trial orders. Instead, they evaluate suppliers through digital channels — company websites, Alibaba storefronts, trade show previews, and e-commerce platforms. The quality of your ceramic product photography directly influences:
- First impression and credibility — High-quality photos signal professionalism and manufacturing capability
- Click-through rates — Listings with professional images receive 2-3x more inquiries
- Return and dispute rates — Accurate, well-lit photos reduce expectation mismatches
- Brand positioning — Consistent imagery establishes your brand as a premium supplier
Research from major B2B platforms shows that product listings with professional photography consistently outperform those with casual or inconsistent images. For ceramic tableware — where aesthetics, finish, and detail matter enormously — the difference is even more pronounced.
Essential Equipment for Ceramic Product Photography
You don’t need a Hollywood studio to produce excellent ceramic product photography. Here’s a practical equipment list that covers most B2B and e-commerce needs:
Camera Options
- DSLR or Mirrorless Camera — Any model with manual mode and at least 20MP resolution. Popular choices include Canon EOS R series, Sony Alpha series, and Nikon Z series
- Smartphone (Budget Option) — Modern flagships like iPhone 15 Pro or Samsung Galaxy S24 Ultra can produce surprisingly good results with proper lighting
- Lens Selection — A 50mm or 85mm prime lens is ideal for product shots. Avoid wide-angle lenses that cause distortion
Lighting Equipment
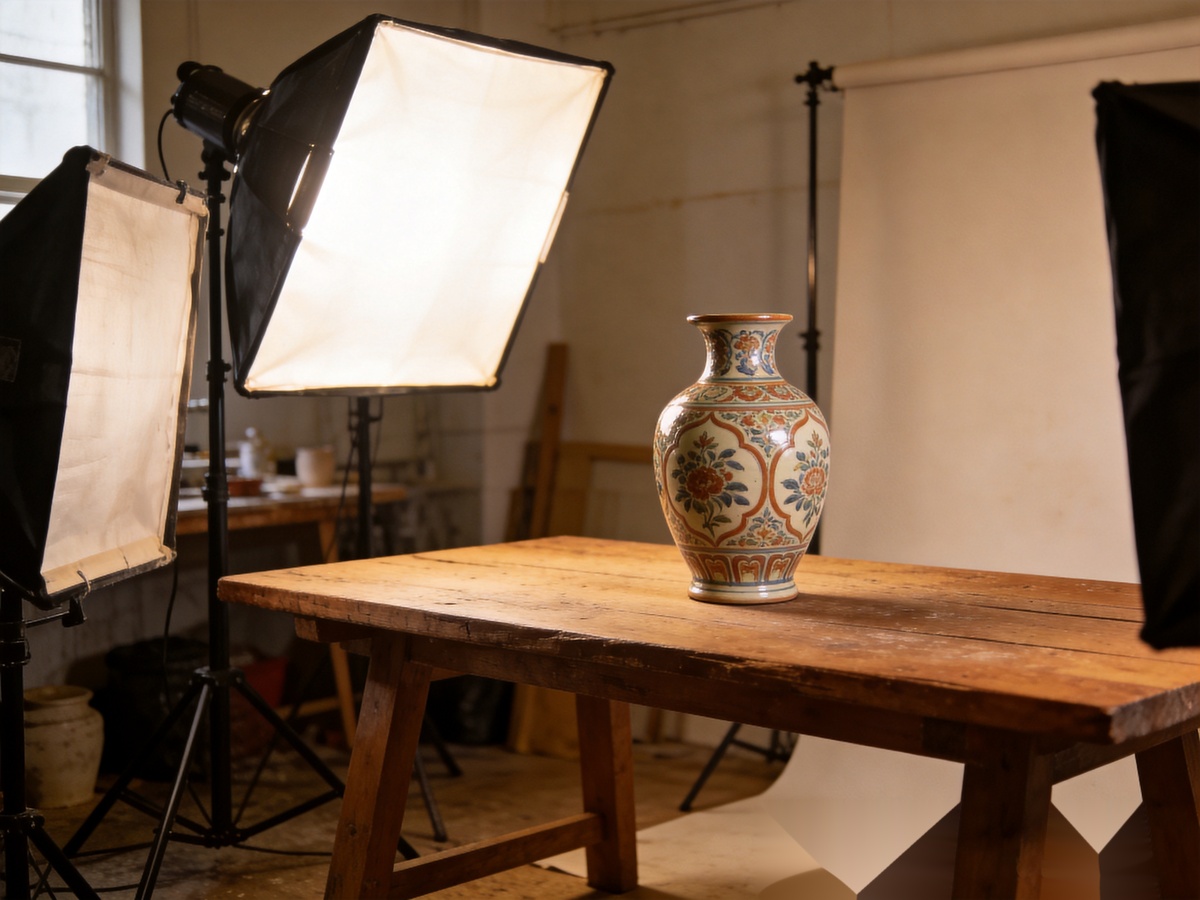
- Softboxes (2-3 units) — The most critical investment. 24″x24″ or 36″x36″ softboxes provide even, diffused light that minimizes harsh reflections on glossy ceramic surfaces
- Continuous LED Panels — Easier for beginners than strobe flashes since you can see the lighting effect in real time
- Reflectors — White foam boards or collapsible reflectors fill shadows and create balanced exposure
- Light Tent or Lightbox — Ideal for smaller ceramic items like mugs, bowls, and decorative pieces
Background and Styling
- Seamless Background Paper — White and light gray are standard for e-commerce. Black works for premium product lines
- Sweep Table or Infinity Curve — Creates a seamless transition from backdrop to surface, eliminating the horizon line
- Styling Props — Natural materials like wood boards, linen napkins, and fresh flowers add context without distracting from the product
Lighting Techniques for Ceramic Product Photography
Lighting is the single most important factor in ceramic product photography. Ceramics present unique challenges due to their reflective glazes, curved surfaces, and the need to accurately represent color and texture.
The Two-Light Setup (Recommended Starting Point)
Position two softboxes at 45-degree angles on either side of the product, slightly above eye level. This creates even illumination with soft shadows that reveal the ceramic’s form and texture. For glossy pieces, angle the lights slightly further back to avoid hot spots on the glaze surface.
Managing Reflections on Glossy Ceramics
Glazed ceramics are inherently reflective, which can create unwanted hot spots and distorted reflections. Key techniques include:
- Use large, diffused light sources — Larger softboxes create softer, more gradual reflections that look natural
- Employ a polarizing filter — A circular polarizer on your lens can dramatically reduce glare on glossy surfaces
- Create a reflection tent — Surrounding the product with white material creates clean, even reflections
- Adjust light angle — Moving lights to the side and slightly behind reduces direct reflections while maintaining form definition
Capturing True Colors
Color accuracy is essential for ceramic product photography — buyers need to see the exact glaze color they’ll receive. Use these practices:
- Set a custom white balance using a gray card under your lighting conditions
- Shoot in RAW format for maximum post-processing flexibility
- Include a color reference card in at least one shot per product batch
- Avoid mixed lighting sources (e.g., don’t combine daylight with tungsten bulbs)
Composition and Styling Best Practices for Ceramic Product Photography
How you arrange and compose ceramic products in your photographs directly affects how buyers perceive quality, scale, and versatility. Here are proven composition strategies:
The Hero Shot
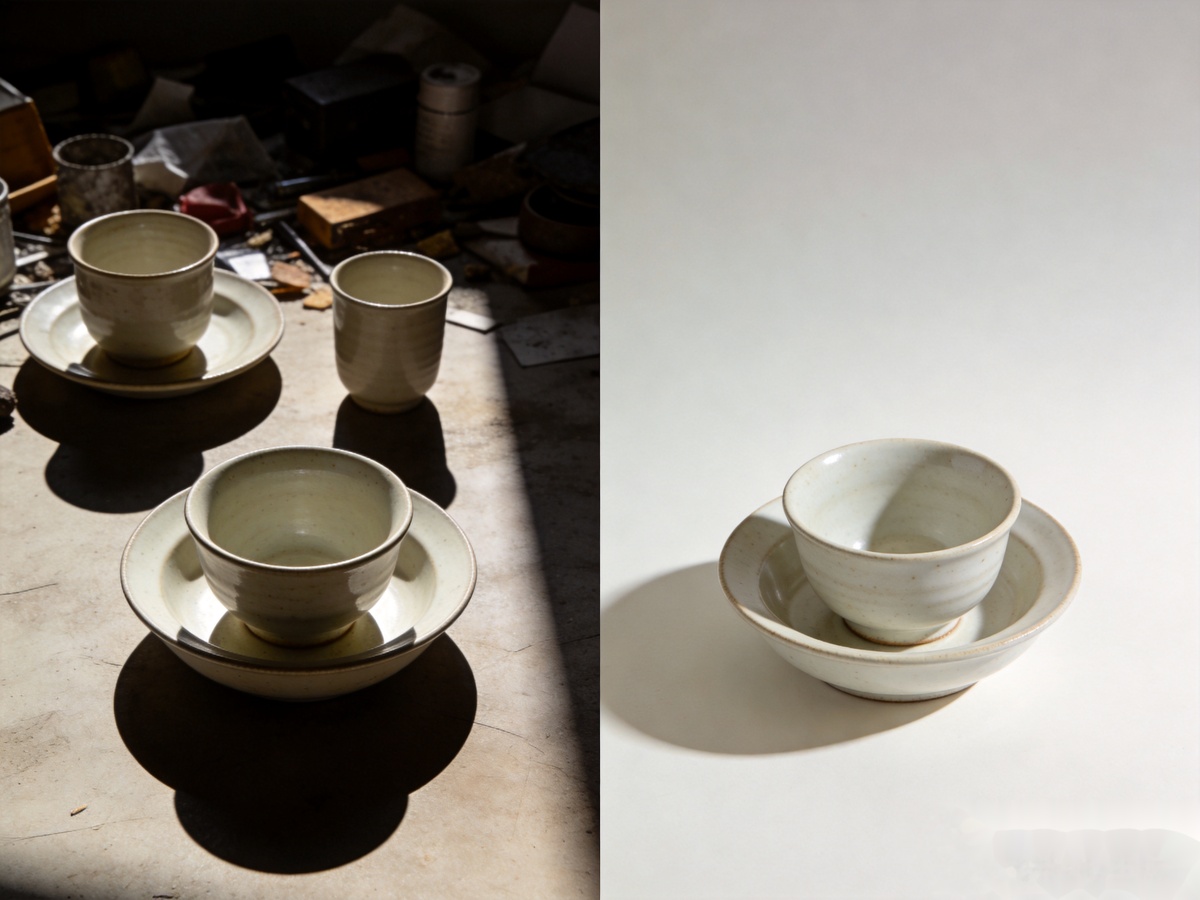
Every product needs one definitive “hero” image — a clean, straight-on shot against a pure white background. This is your primary listing image and should clearly show the product’s shape, color, and proportions. Shoot at eye level or slightly above, with the product centered and well-lit from all sides.
The Lifestyle Context Shot
After the hero shot, include lifestyle images that show the product in use. For ceramic tableware, this means styled table settings with food, flatware, and complementary pieces. These images help buyers visualize how the product fits into real-world dining environments — crucial for hospitality buyers and retail brands.
The Detail and Scale Shots
- Close-up details — Show the rim profile, base stamp, glaze texture, and any hand-painted details
- Scale reference — Include a familiar object (hand, cutlery, common food item) to communicate actual size
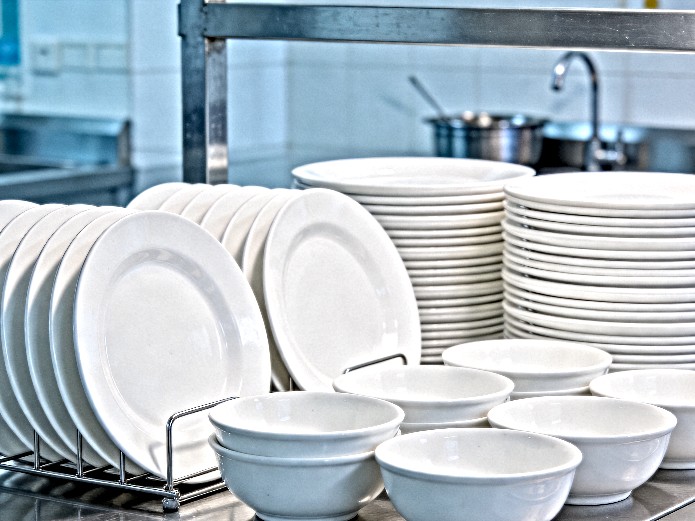
- Stacking and nesting — Demonstrate how pieces stack for storage and shipping efficiency
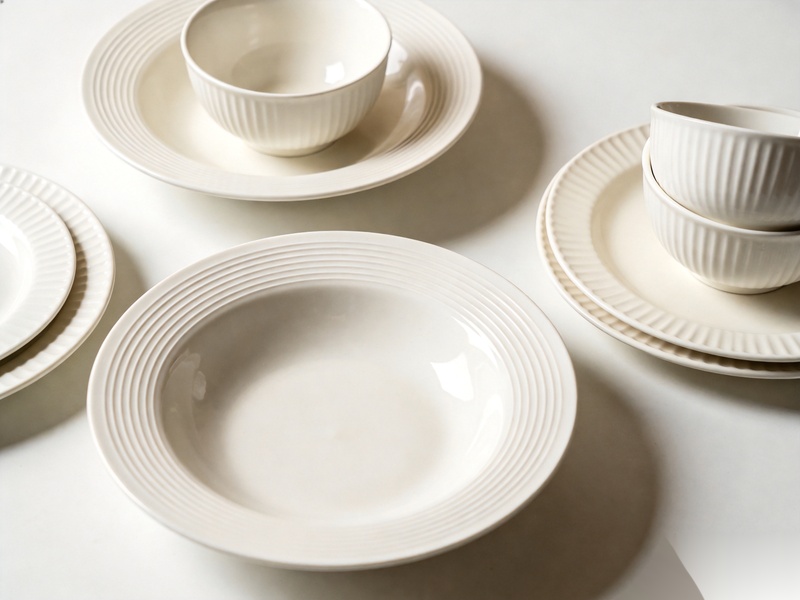
- Group arrangements — Show coordinated sets to encourage multi-piece orders
Post-Processing Workflow for Ceramic Product Photography
Post-processing transforms good photos into professional-grade product images. Here’s a streamlined workflow optimized for ceramic product photography:
- RAW Development — Adjust exposure, white balance, and color temperature. Aim for a clean, neutral look that accurately represents the ceramic’s true color
- Background Cleanup — Remove dust spots, shadows, and any imperfections on the backdrop. For white backgrounds, ensure consistent pure white (#FFFFFF) across the frame
- Product Retouching — Remove minor imperfections like dust particles or small scratches. Avoid over-retouching — the product should look exactly as buyers will receive it
- Sharpening — Apply selective sharpening to the product edges and details. Avoid over-sharpening the background
- Color Verification — Compare the final image against the physical product under standardized lighting to ensure accuracy
- Export and Format — Save in multiple formats: high-resolution JPEG for print catalogs, web-optimized versions for online platforms, and PNG with transparency if needed
Platform-Specific Ceramic Product Photography Guidelines
Different platforms have different requirements for ceramic product photography. Understanding these helps you shoot efficiently and avoid re-shoots.
Alibaba and B2B Platforms
- Primary image: Pure white background, product fills 80% of frame
- Minimum 6 images per product (hero, angles, detail, scale, lifestyle, packaging)
- Video strongly recommended — a 30-second rotation video increases inquiries by 30-50%
- Image resolution: 1000x1000px minimum, 2000x2000px recommended
Amazon and E-commerce Marketplaces
- Main image: Pure white background (RGB 255,255,255), product fills 85% of frame
- Infographic images highlighting features and dimensions are essential
- A+ Content allows lifestyle imagery and brand storytelling
- Avoid text overlays, logos, or watermarks on main images
Company Website and Catalog
- Consistent style across all products — same background, lighting, and angle
- Include collection groupings and coordinated set arrangements
- Higher creative freedom for lifestyle and brand imagery
- Optimize images for fast loading (WebP format, lazy loading)
Ceramic Product Photography for Different Product Types
Not all ceramic products photograph the same way. Different shapes, finishes, and sizes require tailored approaches to ceramic product photography:
Flat Plates and Platters
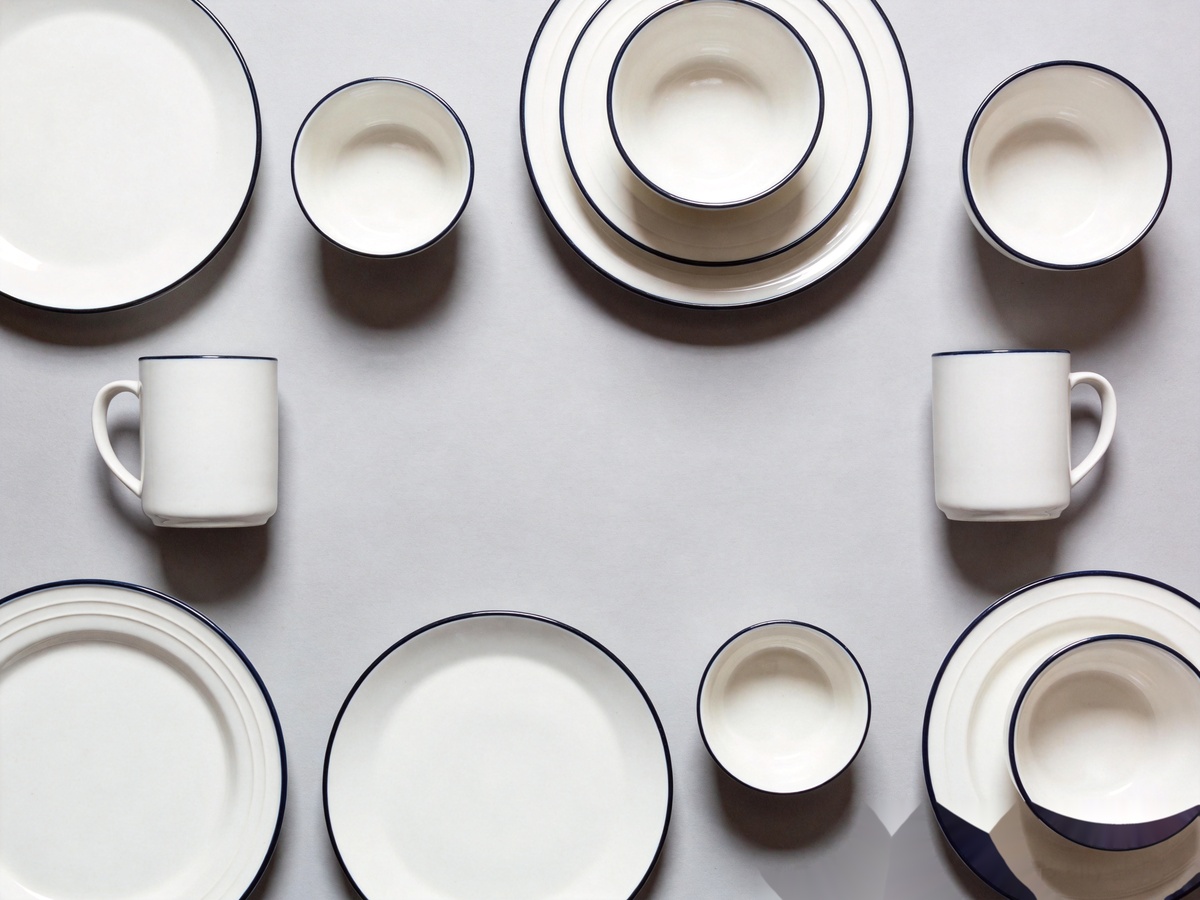
Shoot from directly above (flat lay) or at a 30-45 degree angle. Use a single dominant light source from the side to reveal surface texture and rim details. Stack multiple plates to show consistency across pieces.
Mugs and Cups
Position the handle at a 45-degree angle to the camera for a natural look. Include a shot showing the interior glaze color. For printed or decorated mugs, rotate to show the full design wrap.
Bowls and Deep Vessels
Use a higher camera angle (60-70 degrees) to show both the interior and exterior. Place a reflector below to illuminate the bowl’s interior. Include a shot with food or contents to demonstrate capacity and scale.
Decorative and Art Ceramics
These require more creative latitude. Consider environmental context — place vases with flowers, sculptural pieces on styled shelves. Multiple angles are essential since buyers want to see the piece from all sides.
Building a Scalable Ceramic Product Photography Workflow
For ceramic manufacturers with hundreds or thousands of SKUs, efficiency matters as much as quality. Here’s how to build a scalable ceramic product photography workflow:
- Standardize your setup — Create a fixed studio configuration with marked positions for camera, lights, and product placement. This ensures consistency across sessions
- Batch similar products — Photograph all white plates together, then all mugs, then all bowls. This minimizes setup adjustments between shots
- Create shot lists — Define exactly which angles and compositions each product type needs. A standard set might include: front, 45-degree, top-down, detail, scale, and lifestyle
- Use tethered shooting — Connect your camera to a computer for real-time review. This catches issues immediately and speeds up the approval process
- Implement naming conventions — Use SKU-based file naming (e.g., SKU-001-front.jpg, SKU-001-45deg.jpg) for easy catalog management
- Automate post-processing — Create Lightroom presets or Photoshop actions for your standard edits. This can reduce processing time by 70-80%
Common Ceramic Product Photography Mistakes to Avoid
- Inconsistent white balance — Makes identical products look different across your catalog, confusing buyers
- Over-saturated colors — Creates unrealistic expectations that lead to returns and disputes
- Missing scale references — Buyers can’t judge size, resulting in more pre-sale inquiries and potential dissatisfaction
- Poor focus and softness — Blurry details suggest low manufacturing quality, even when the product is excellent
- Cluttered backgrounds — Distracts from the product and looks unprofessional in catalog grids
- Insufficient image count — Three images aren’t enough. Aim for 6-10 per product for B2B platforms
- No video content — Video shows dimensionality and surface quality in ways still images cannot
Frequently Asked Questions About Ceramic Product Photography
What is the best camera for ceramic product photography?
Any DSLR or mirrorless camera with manual exposure control and at least 20 megapixels works well for ceramic product photography. Popular choices include the Canon EOS R6, Sony A7 III, and Nikon Z6 II. For budget-conscious operations, modern smartphones like the iPhone 15 Pro can produce acceptable results when paired with proper lighting.
How much does professional ceramic product photography cost?
Professional ceramic product photography typically costs $15-50 per image for standard white-background shots and $50-150 for styled lifestyle images. For a full catalog shoot of 100 products with 6 images each, expect to invest $9,000-30,000. Many manufacturers find that building an in-house capability pays for itself within the first year.
Should I hire a professional photographer or do it in-house?
For initial brand photography and hero lifestyle images, hiring a professional is recommended. For ongoing catalog updates, new product additions, and routine e-commerce shots, building an in-house capability is more cost-effective. A basic studio setup costs $2,000-5,000 and can produce professional results with proper training.
How do I photograph glossy ceramic products without reflections?
Use large diffused light sources positioned at angles that avoid direct reflection into the camera lens. A circular polarizing filter on your lens can eliminate most remaining glare. For extremely glossy pieces, consider using a light tent or creating a controlled reflection environment with white seamless paper surrounding the product.
What image formats and sizes do I need for different platforms?
For Alibaba: 1000x1000px minimum (2000x2000px recommended), JPEG format. For Amazon: 2000x2000px minimum, JPEG or PNG, with the main image on pure white background. For your own website: WebP format for optimal loading speed, with JPEG fallback. Always keep master files in full resolution TIFF or RAW format for future use.
Ready to Elevate Your Ceramic Product Presentation?
Professional ceramic product photography is one of the highest-ROI investments a ceramic supplier can make. Better images lead to more inquiries, higher conversion rates, fewer disputes, and stronger brand positioning in competitive global markets.
At CeraSupply, we understand the importance of visual presentation in the ceramic trade. Our team can help you source high-quality ceramic products that photograph beautifully and meet international standards. Explore our ceramic sourcing resources or browse our product catalog to find the perfect pieces for your market.