

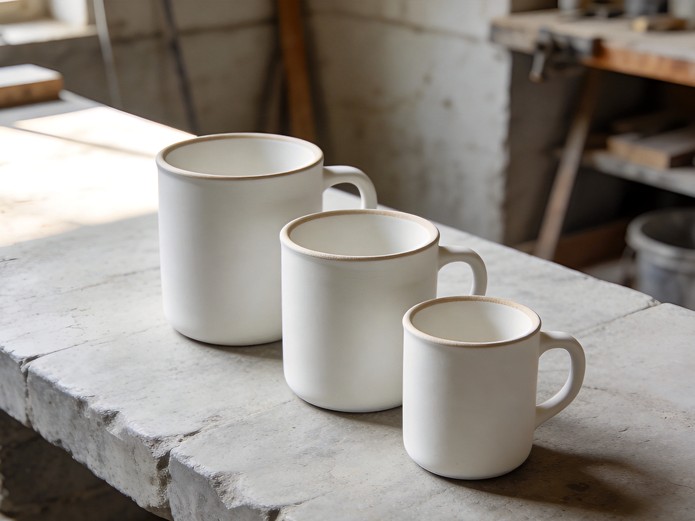
Ceramic mug capacity is decided by three dimensions and one firing variable, and a 12 oz label tells you none of them. The number in a purchase order is a volume the mug does not have at the height a person actually pours to. This article separates brimful, usable and nominal capacity, shows which dimension moves each one, and gives you a weighing procedure you can run on incoming goods with a 0.1 g scale. If you write mugs into a specification, the payoff is a number your customer can pour to and a supplier can hold.
What a 12 oz Label Actually Measures
Twelve fluid ounces is not one quantity. Using the US customary fluid ounce of 29.5735 ml published in NIST SP 365, 12 oz is 354.9 ml. Using the imperial ounce of 28.4131 ml — the imperial gallon of 4.54609 litres divided into 160 parts, per the UK Weights and Measures Act 1985 — it is 341.0 ml. The two readings differ by 13.9 ml, close to a tablespoon, and both legitimately call themselves twelve ounces. Then the trade rounds: a common shorthand is 12 oz = 360 ml. Line up 341.0, 354.9 and 360 and the spread is 19.0 ml, or 5.4%.
Note what the regulatory framework does and does not say. FDA Compliance Policy Guide 545.450 places cups and mugs in the small hollowware class, describes them as normally holding about 240 ml or 8 fl oz, and sets a lead action level of 0.5 µg/ml for that class; CPG 545.400 sets cadmium at 0.5 µg/mL for small hollowware. Those limits govern what leaches out of the glaze, not how much liquid the body holds. ISO 6486-1 defines a cup and a mug the same way — small hollowware of approximately 240 ml capacity with a handle. The word “approximately” sits in the standard’s own definition. ISO 5644:2024, the first ISO standard written for ceramic tableware as a category, published in March 2024, covers chemical composition, handle attachment, impact, water absorption, metal release, dishwasher durability, pouring, stability, microwave, oven and freezer use, and marking. Capacity is not one of its clauses.
That gap is what a buyer fills when writing a specification: nobody above you has defined 12 oz, so the definition comes from your document.
Three Numbers Behind One Mug
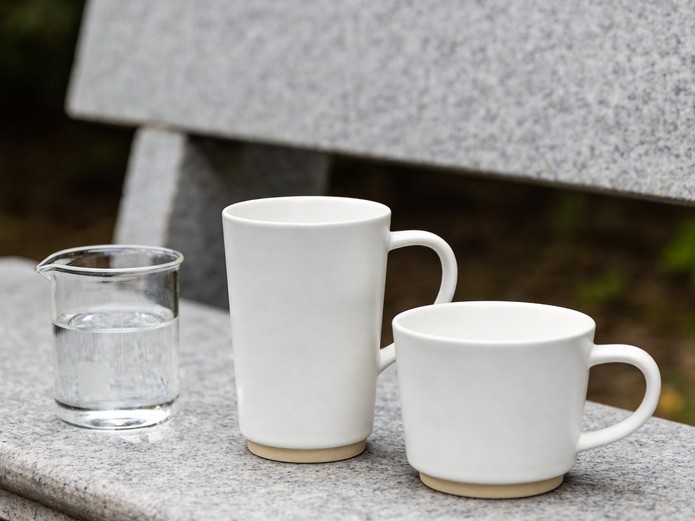
Brimful is the volume to the very rim. Usable is the volume to a working fill line, with freeboard left so liquid does not spill in transit across a room. Nominal is the number printed on the box. On ordinary shapes brimful and usable differ by 12% to 28%. The table runs all three on five vessels, using a straight-sided cylinder (V = π × (D/2)² × h) with a 12 mm freeboard. Real bodies taper and carry a foot ring, so your numbers will land lower; read the ratios.
| Vessel | Bore (mm) | Depth (mm) | Brimful (ml) | Freeboard 12 mm (ml) | Usable (ml) | Brimful vs usable |
|---|---|---|---|---|---|---|
| Espresso | 50 | 55 | 108.0 | 23.6 | 84.4 | +27.9% |
| Cappuccino | 65 | 65 | 215.7 | 39.8 | 175.9 | +22.6% |
| Cup and saucer | 70 | 70 | 269.4 | 46.2 | 223.2 | +20.7% |
| Standard mug | 80 | 85 | 427.3 | 60.3 | 366.9 | +16.4% |
| Large mug | 85 | 95 | 539.1 | 68.1 | 471.0 | +14.5% |
Narrow, deep shapes hurt most: the 12 mm band alone is 21.8% of brimful on the espresso cup and 12.6% on the large mug. A cappuccino in a 3 oz vessel is a different drink — 3 oz is 88.7 ml, while the Certified Italian Cappuccino is 25 ml espresso plus 100 ml steamed milk, 125 ml total, a 36.3 ml shortfall in a cup that looks normal on a shelf.
One warning on borrowed rules. ISO 8442-8:2000 defines usable capacity as filling a vessel to 15 mm ± 1 mm below the rim, but it covers metal holloware such as teapots. It is not a ceramic rule. Pick your own freeboard from how the mug is used and write it down.
Which Dimension Moves the Number
Volume goes with the square of the bore and linearly with depth, so bore starts the arguments. A 5% change in bore — 4 mm on an 80 mm mug, less than the width of a finger — moves volume by 10.25%. A 76 mm bore against an 84 mm bore at the same height is 385.6 ml against 471.1 ml: 85.5 ml apart, 22.2%, on two mugs that both answer to “12 oz”.
Wall thickness cuts the other way when outside diameter is fixed, which is how mugs get specified for stacking and carton cube. At an 88 mm outside diameter, a 3 mm wall leaves a 448.9 ml cavity and a 6 mm wall leaves 385.6 ml — the heavy version holds 63.3 ml less, 16.4% down, while weighing noticeably more. Buyers ask for a thicker wall for durability and then find the volume clause in their own specification no longer passes. If wall thickness is a requirement, ceramic mug capacity has to be re-declared against it, not carried over from the light version.
Depth is the honest knob. For 355 ml of usable volume at an 80 mm bore you need 70.6 mm of liquid depth, or 82.6 mm of internal depth once 12 mm of freeboard sits on top. A mould cut at 85 mm works; a body shaved to 70 mm for a lower profile cannot, and no glaze adjustment fixes it.

Why the Mould Is Not Cut to the Fired Size
Clay shrinks, and ASTM C326-09(2024) expresses it as a volume relation rather than a linear one: volume shrinkage % = [1 − (1 − S/100)³] × 100, with a shrinkage factor defined as plastic length divided by fired length. The test uses 100 mm reference marks and 0.1 mm calipers on at least five specimens — five, because one bar tells you about one bar.
Working back from a required fired bore of 80 mm, the green body has to be cut at 88.9 mm for 10% linear shrinkage, 90.9 mm for 12%, and 93.0 mm for 14%. Cut the mould at the finished 80 mm instead and the fired bore lands at 70.4 mm, losing 22.6% of volume — 274.9 ml where you specified 355 ml, short by 80.1 ml on every piece. That is not a finishing or glazing error; it is a tooling decision paid for across the whole run. Batch drift compounds it: the same green 80 mm body fired at 10% in one campaign and 14% in the next comes out 3.2 mm narrower, costing 8.7% of volume, or 37.1 ml on a 427 ml mug. That is why the fired dimension belongs in the PO and in incoming inspection, and the green dimension does not.
How to Check Declared Capacity With a Scale
Do not measure capacity with a jug. Weigh it. Water at 20 °C, air-saturated, has a density of 0.99820426 g/cm³ according to NISTIR 7383, so 355 ml of water weighs 354.36 g. A 0.1 g bench scale resolves that to 0.028%, an order of magnitude finer than any capacity tolerance worth writing, which means the scale is never the limiting factor and the argument about whose jug is right disappears.
- Tare the dry mug, unfired and dry, on a 0.1 g scale.
- Fill to the marked fill line with water at 20 °C ± 2 °C — to the line, not to the rim.
- Weigh, then divide grammes by 0.9982 to get millilitres.
- Record which line you used and at what height it sits below the rim.
- Repeat on five pieces from the first carton and five from the last, and compare the two spreads.
- Hold the tolerance at ±3% (10.65 ml on 355 ml) or ±5% (17.75 ml); tighter than ±3% needs the temperature and sampling plan written beside it.
The spread between first and last carton is your real batch capability, not the brochure figure. Weighing also catches what a visual check misses: a body right at the centre and thin at the shoulder holds less than its bore suggests. Our walkthrough of the nine specification fields buyers leave blank covers the rest of the header block.
Three Mistakes That Turn a Spec Into a Claim
- Declaring capacity without naming the fill height. A brimful figure in a PO becomes a usable figure at a café counter. The mug passes inspection and still under-pours, because the two sides measured different things and neither document says which.
- Specifying wall thickness and capacity independently. At a fixed outside diameter these fight each other: 3 mm to 6 mm on an 88 mm body costs 16.4% of volume. One has to be the constraint and the other derived from it.
- Accepting a green dimension as a finished dimension. Tooling cut to fired size, or a shrinkage assumption carried over from another body, is invisible in a sample photo and permanent in the run.
The Paragraph to Paste Into Your Next RFQ
This is the whole specification in one block. Copy it, fill the numbers, and put it in the enquiry body rather than an attachment — suppliers answer what they can read.
Body: ceramic mug, [shape reference]. Fired bore [X] mm ± [Y] mm measured at [height] mm above the base. Fired internal depth [X] mm. Capacity: [355] ml usable, measured to a fill line [12] mm below the rim, by weight of water at 20 °C ± 2 °C, density 0.9982 g/cm³; tolerance ±3%, minimum 5 pieces per carton. Brimful capacity to be stated separately. Wall thickness [X] mm at the body, outside diameter [X] mm at the same height. Shrinkage: state the linear shrinkage factor and the green bore used to reach the fired bore. Handle: [reference], tested to [standard or load]. Glaze: [type], lead and cadmium to FDA CPG 545.450 and 545.400 action levels, report per lot. Marking: fired-on or decorative mark only, no printed volume claim on the body. Packaging: [X] pieces per inner, [X] inners per export carton, drop test to [procedure]. Tooling: new body mould amortised over [X] pieces, [X] samples approved before mass production.
Every line is a decision, and the costly ones are the tolerance, the sampling count and the tooling amortisation. A ±3% clause on five pieces per carton is cheap to check; a ±1% clause on the same sample fails on measuring technique alone. On lead time the constraint is usually the mould rather than the kiln: a new body shape adds tooling weeks ahead of the production slot, while a repeat on an existing mould goes straight into the schedule. Accept a stock shape with a new decal and you buy speed; insist on a new body and you buy the tooling calendar. MOQ on a bespoke body is set by how many pieces amortise that mould, so it moves with the shape, not the glaze.
Three things to do before the PO leaves. First, declare capacity at the fill line, state the freeboard, and ask the supplier to confirm by weight — one scale, ten minutes. Second, hold the fired bore as the controlling dimension and let the green size be the supplier’s calculation, with the shrinkage factor disclosed on the drawing. Third, tie wall thickness to the durability requirement you actually have: our weight and thickness guide sets out where extra grammes buy anything and where they only cost cube. For a new body, the OEM/ODM programme is where the mould drawing gets worked out from your fired dimensions rather than the other way round.
Capacity also lands on the handle: a heavier body with the same handle load moves the failure point, which is why the handle strength test your PO never names belongs on the same drawing as the bore. If the volume ends up printed on the body or the box it is a claim, to be treated the way crazing and glaze defect inspection treats appearance — with a documented method and a recorded sample, not a judgement at the loading dock.
Send us the bore, the internal depth and the fill line you need, and we will return a drawing with fired dimensions, the green bore worked out, and ceramic mug capacity confirmed by weight at the line you specify. Our ceramic mug range covers the standard bodies this arithmetic applies to; cups and saucers is where the freeboard question bites hardest. Send your capacity spec for a fill-line drawing — the fastest way to learn whether the volume you want fits the shape you have in mind.
Questions Buyers Ask About Capacity
Is 12 oz the same as 350 ml? Not exactly. Twelve US fluid ounces is 354.9 ml and twelve imperial ounces is 341.0 ml, so a 350 ml figure sits between the two and matches neither. Write the unit system as well as the figure, and put the fill height next to it.
Should capacity be declared brimful or usable? Usable, with the freeboard stated. Brimful is a useful secondary figure because it shows how much headroom the shape has, but a café pours to a line, and that line costs 12.6% to 21.8% of brimful volume depending on how narrow the body is.
How much tolerance is realistic on a pressed mug? ±3% is defensible and testable with five pieces and a 0.1 g scale. ±5% covers normal shrinkage drift between campaigns. Tighter than that needs temperature control, a fixed fill line, and a sampling plan in the PO, or you are measuring the inspector rather than the mug.
Does glaze or decoration change the volume? The fired body sets it. An on-glaze decal adds thickness in tens of microns and will not move a 355 ml figure meaningfully. A second firing that shifts shrinkage does, which is why the shrinkage factor should be recorded on the body you ship, not on a trial piece.
Can the supplier just match my existing mug? Yes — send the fired bore and depth, not the volume. A mug measured at the rim can be reproduced; a volume alone cannot, because dozens of bore and depth combinations reach 355 ml and only one fits your saucer and carton.
References cited: FDA Compliance Policy Guide Sec. 545.450 (lead) and Sec. 545.400 (cadmium); ISO 5644:2024 and ISO 6486-1 (cup and mug definitions); ISO 8442-8:2000 (metal holloware, usable capacity); ASTM C326-09(2024) (linear shrinkage); NIST SP 365 and NIST Handbook 133 Appendix E (fluid ounce and gallon conversions); NISTIR 7383 (water density at 20 °C); UK Weights and Measures Act 1985, Schedule 1; Istituto Espresso Italiano certified beverage definitions. FDA figures quoted are action levels used in enforcement decisions, not statutory tolerances; confirm the current CPG text and your destination market’s own limits before writing a compliance clause.


